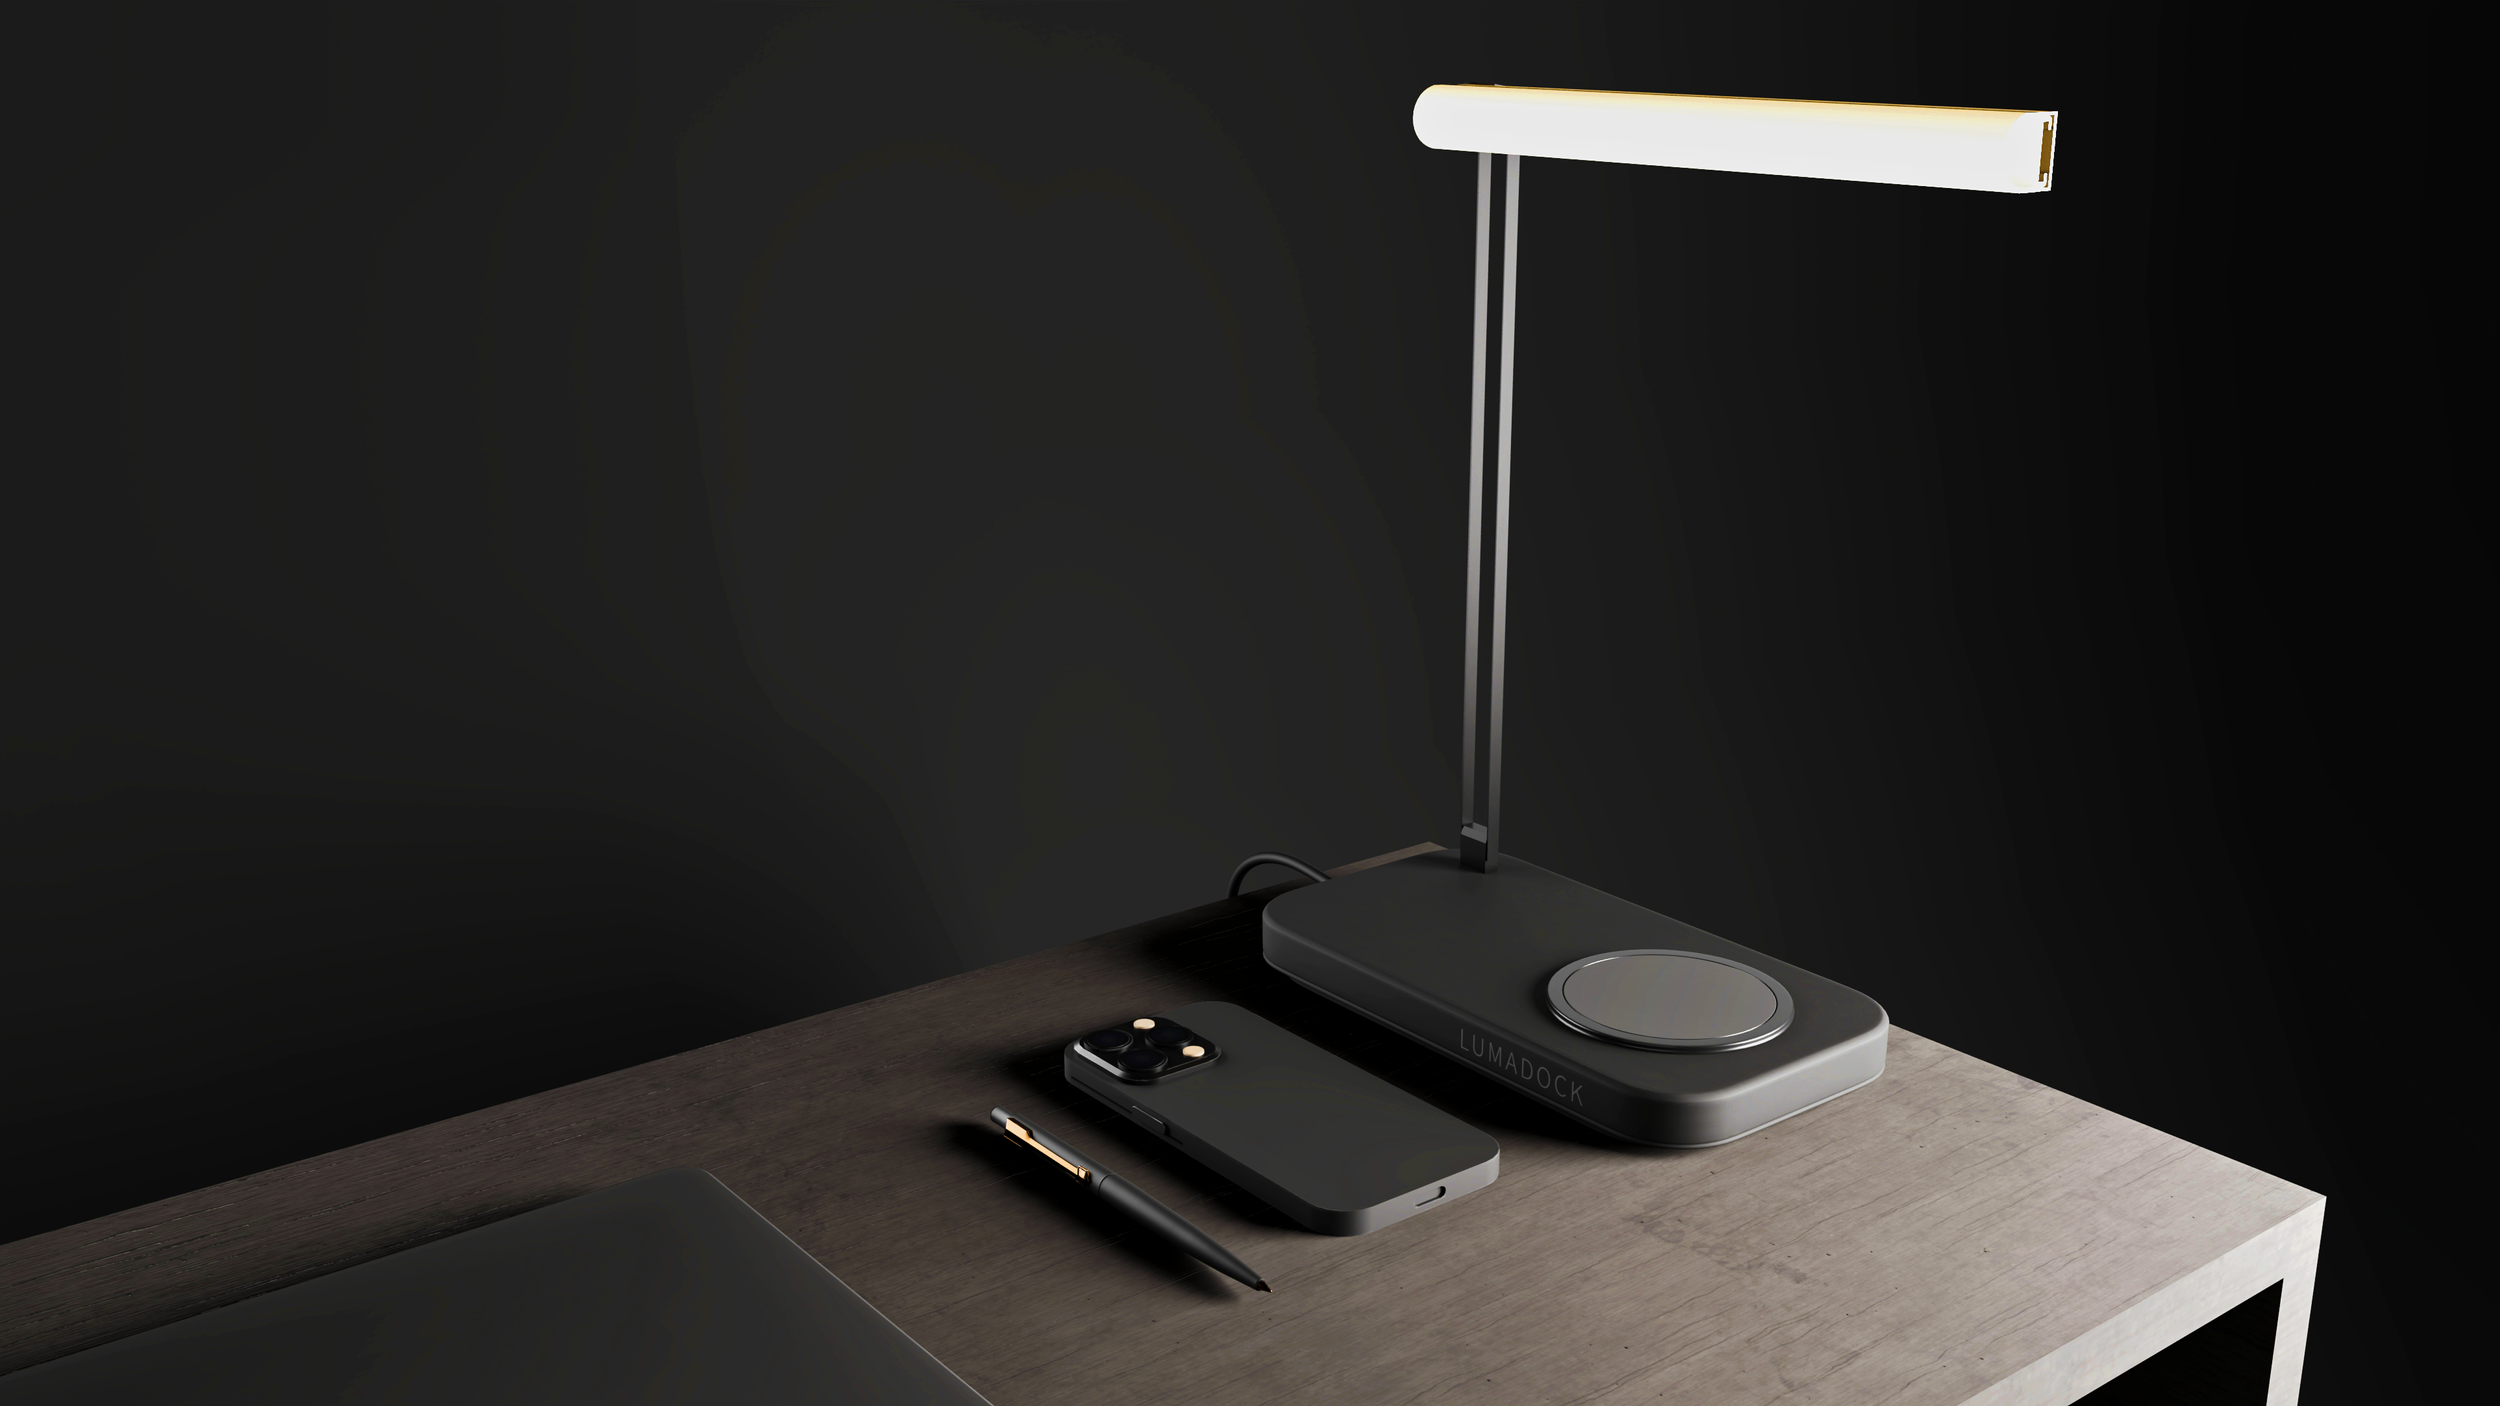
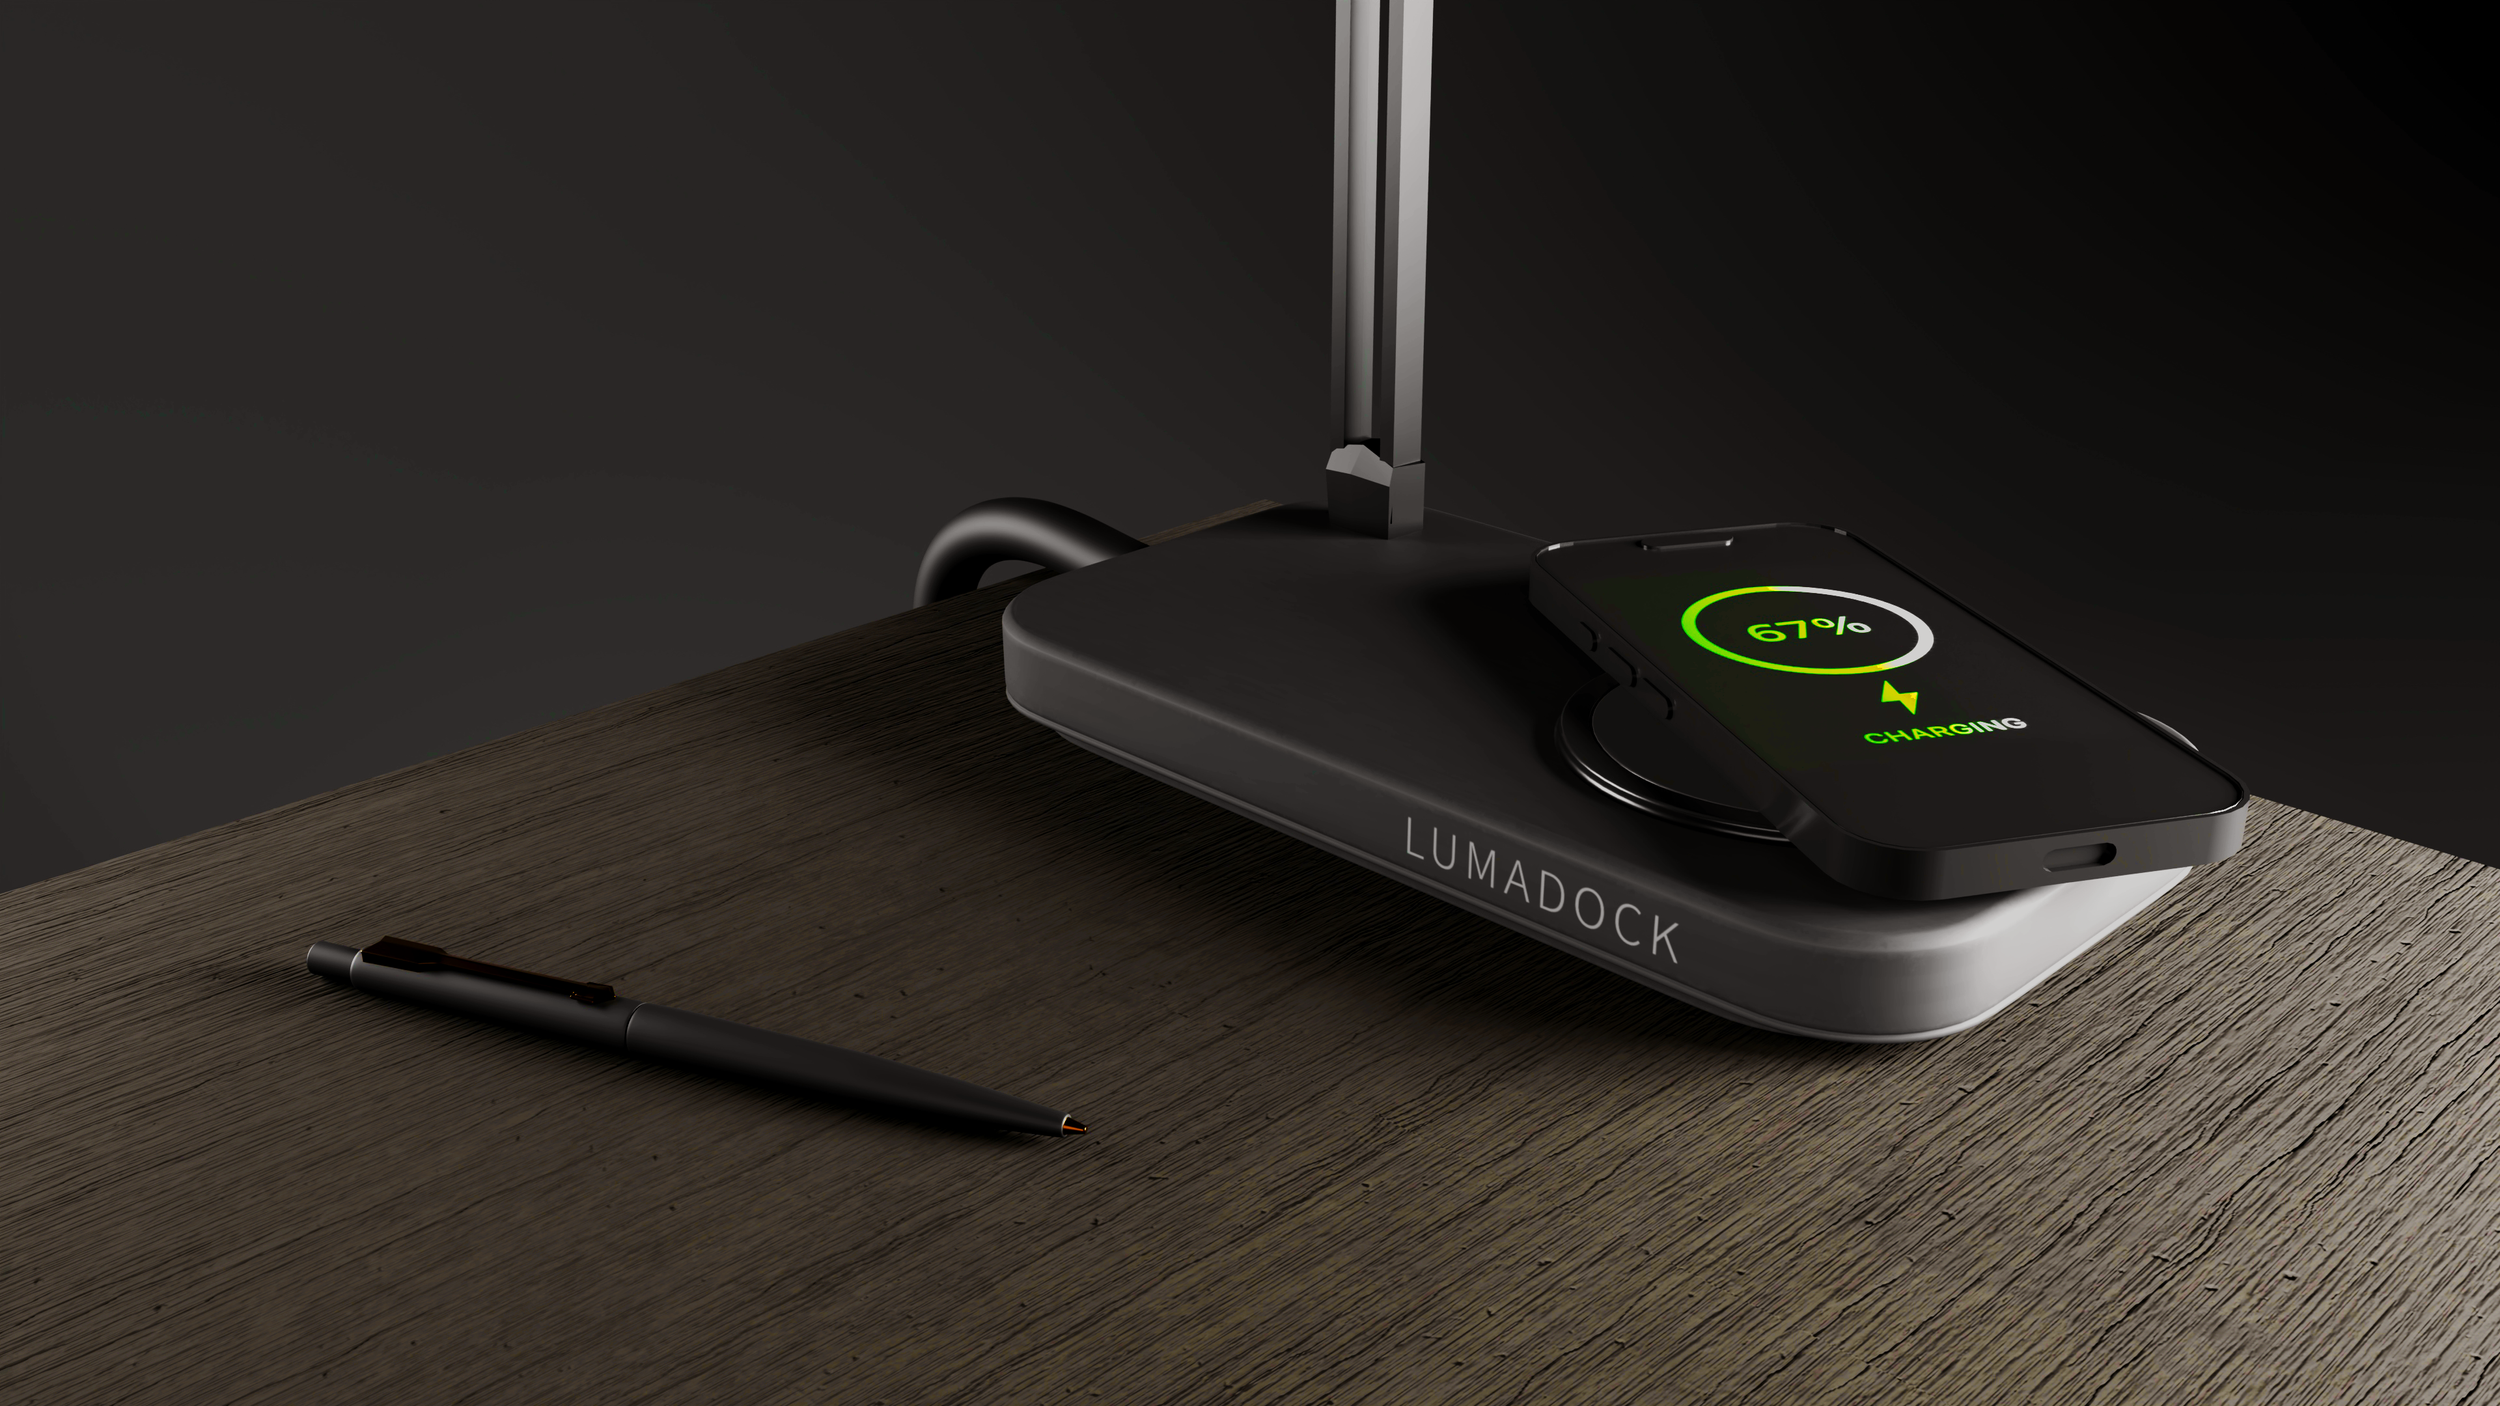
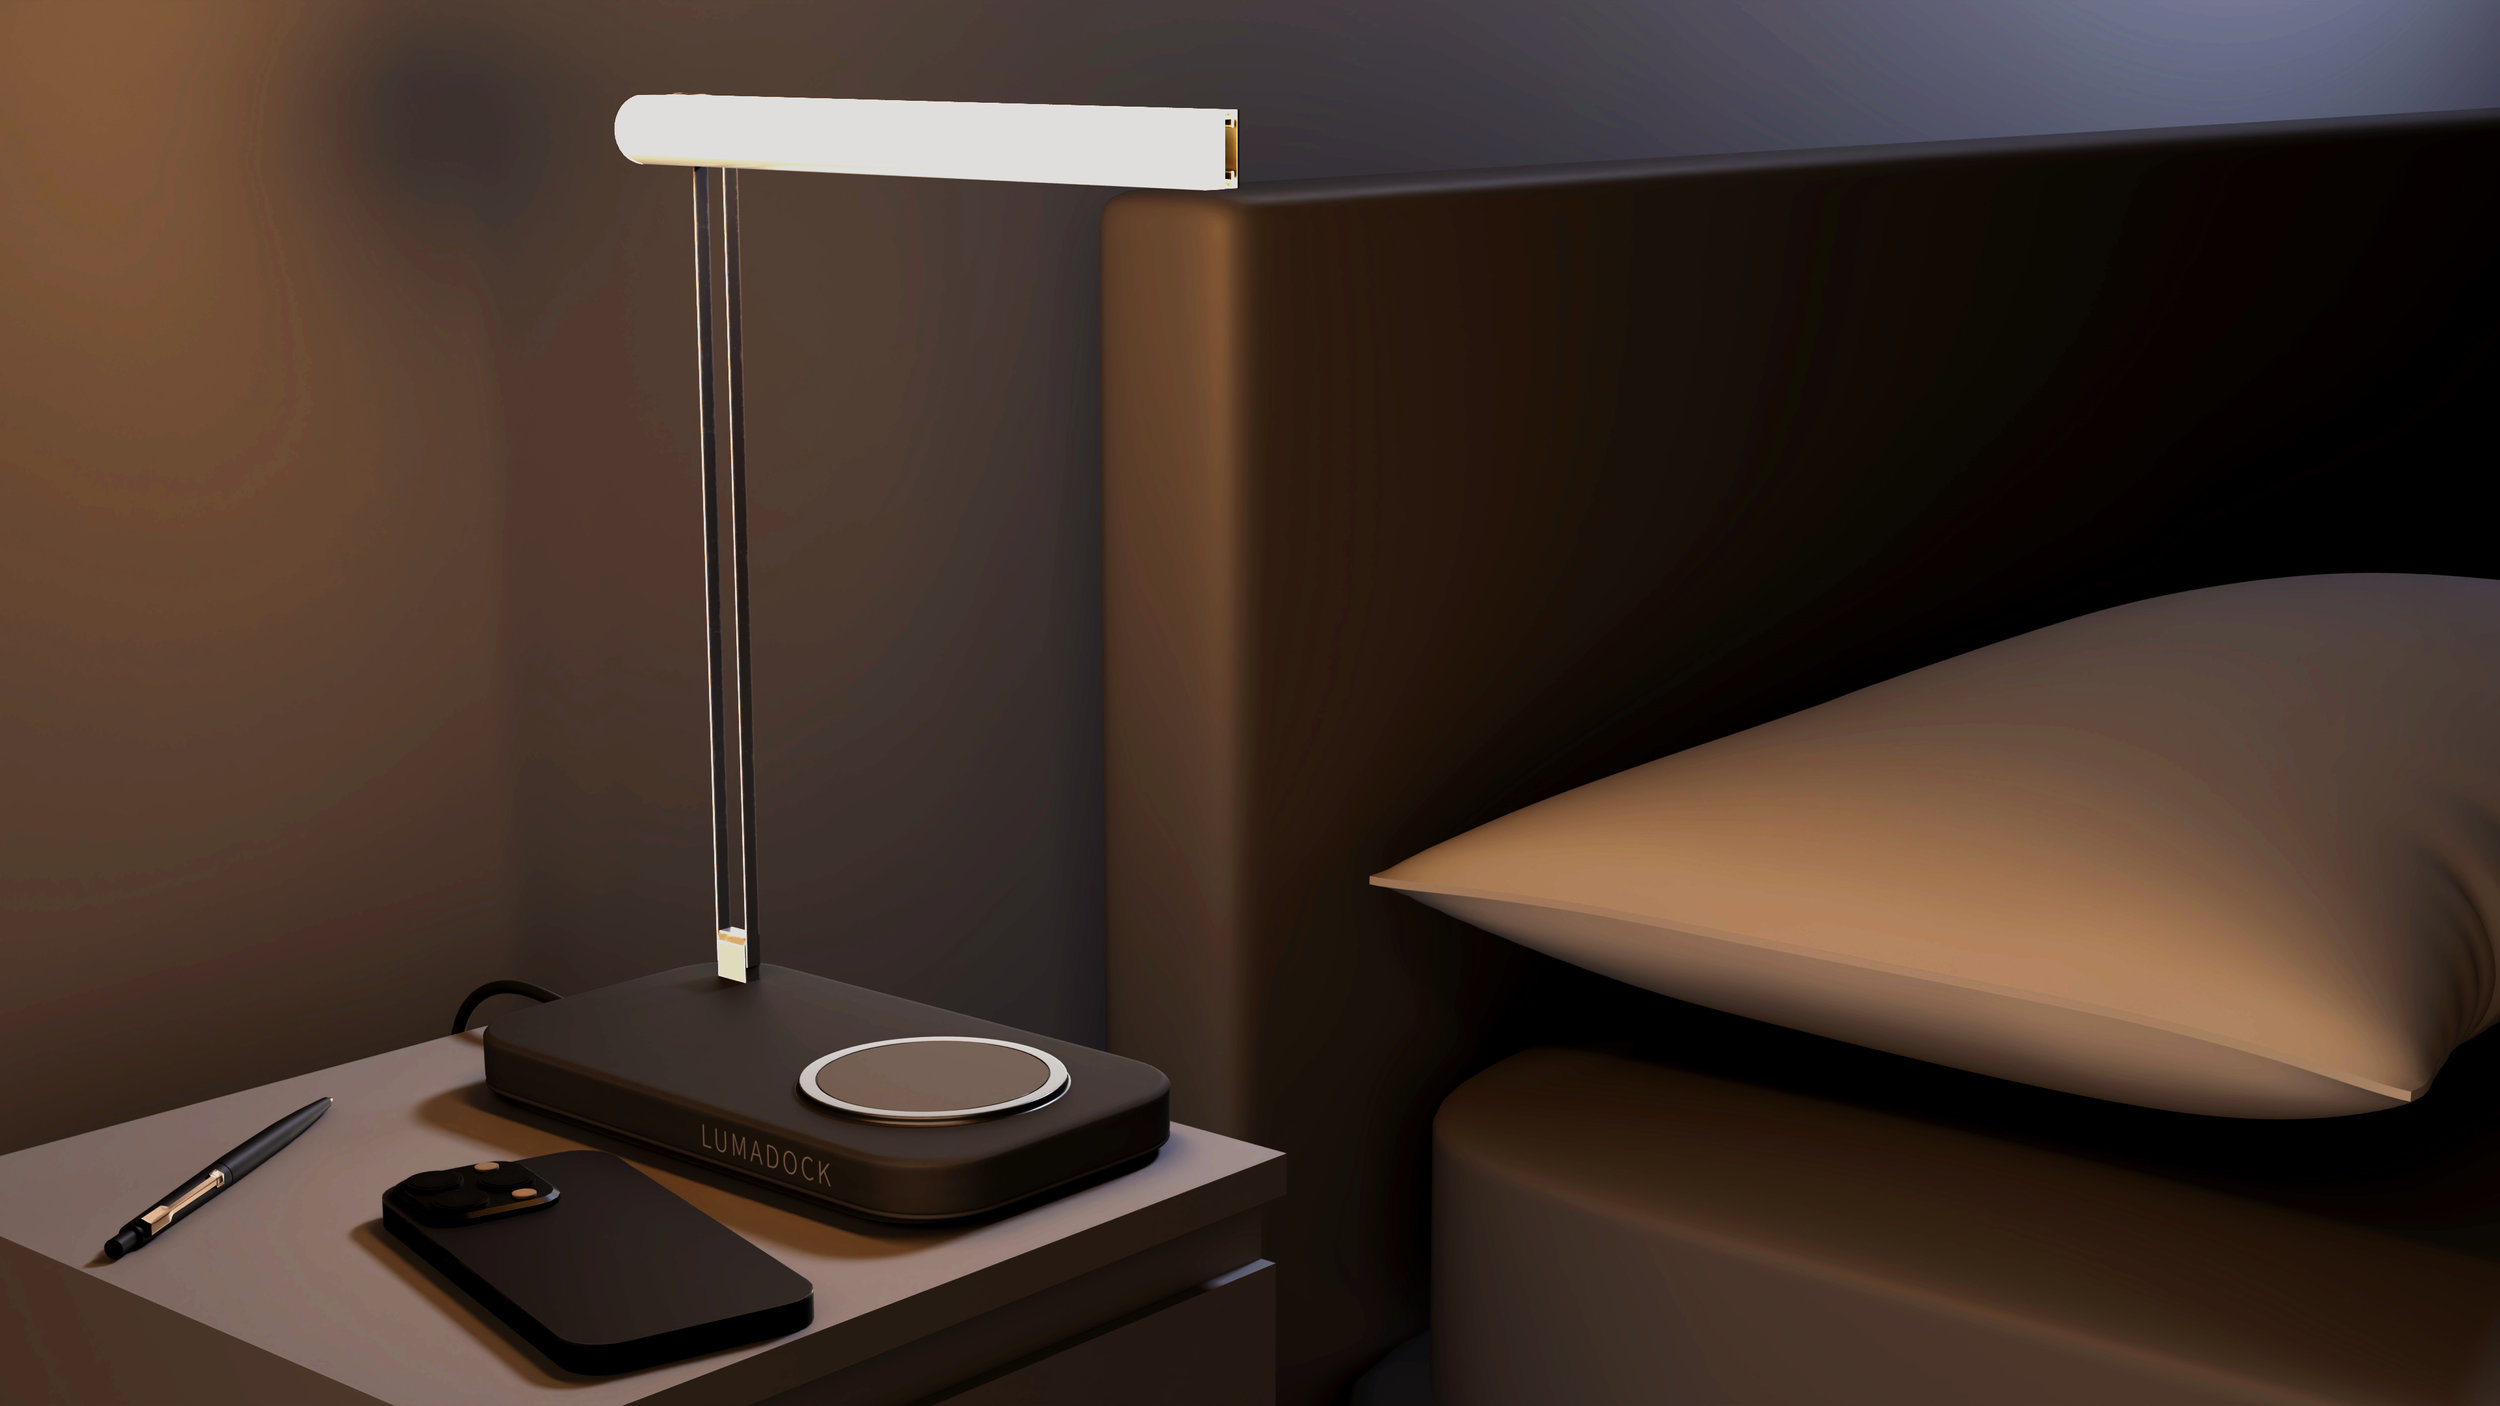
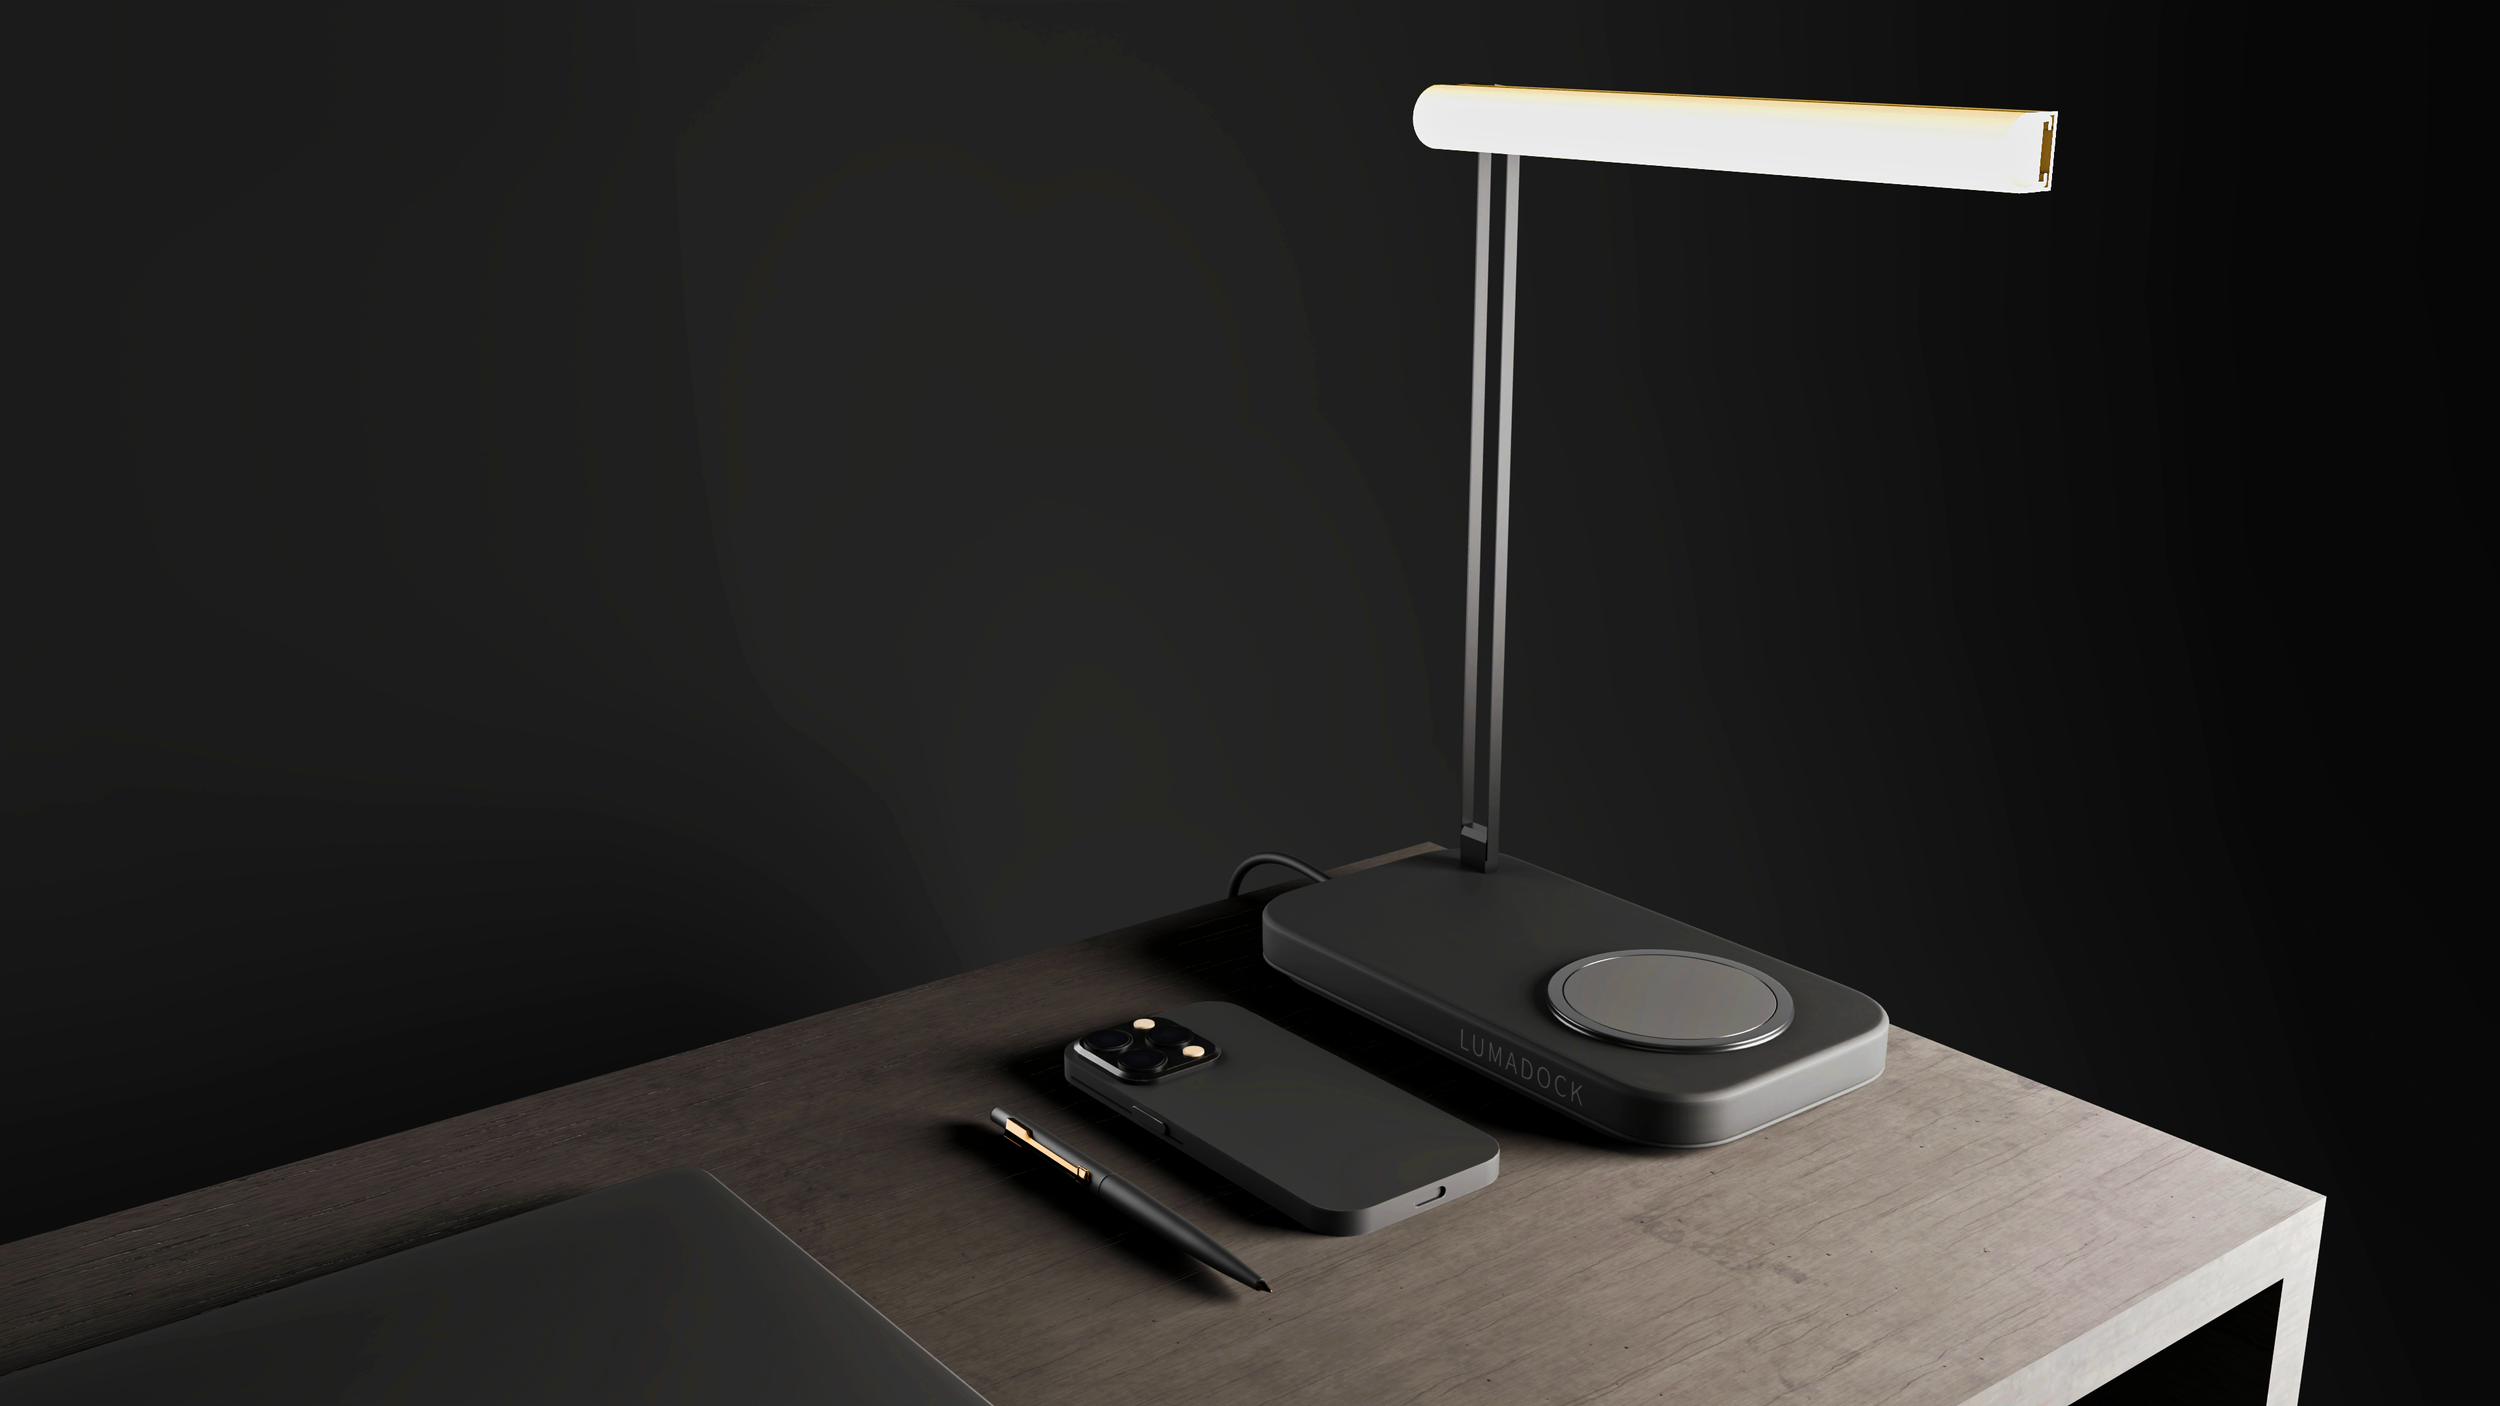
Desk Lamp Product Render
Case Study
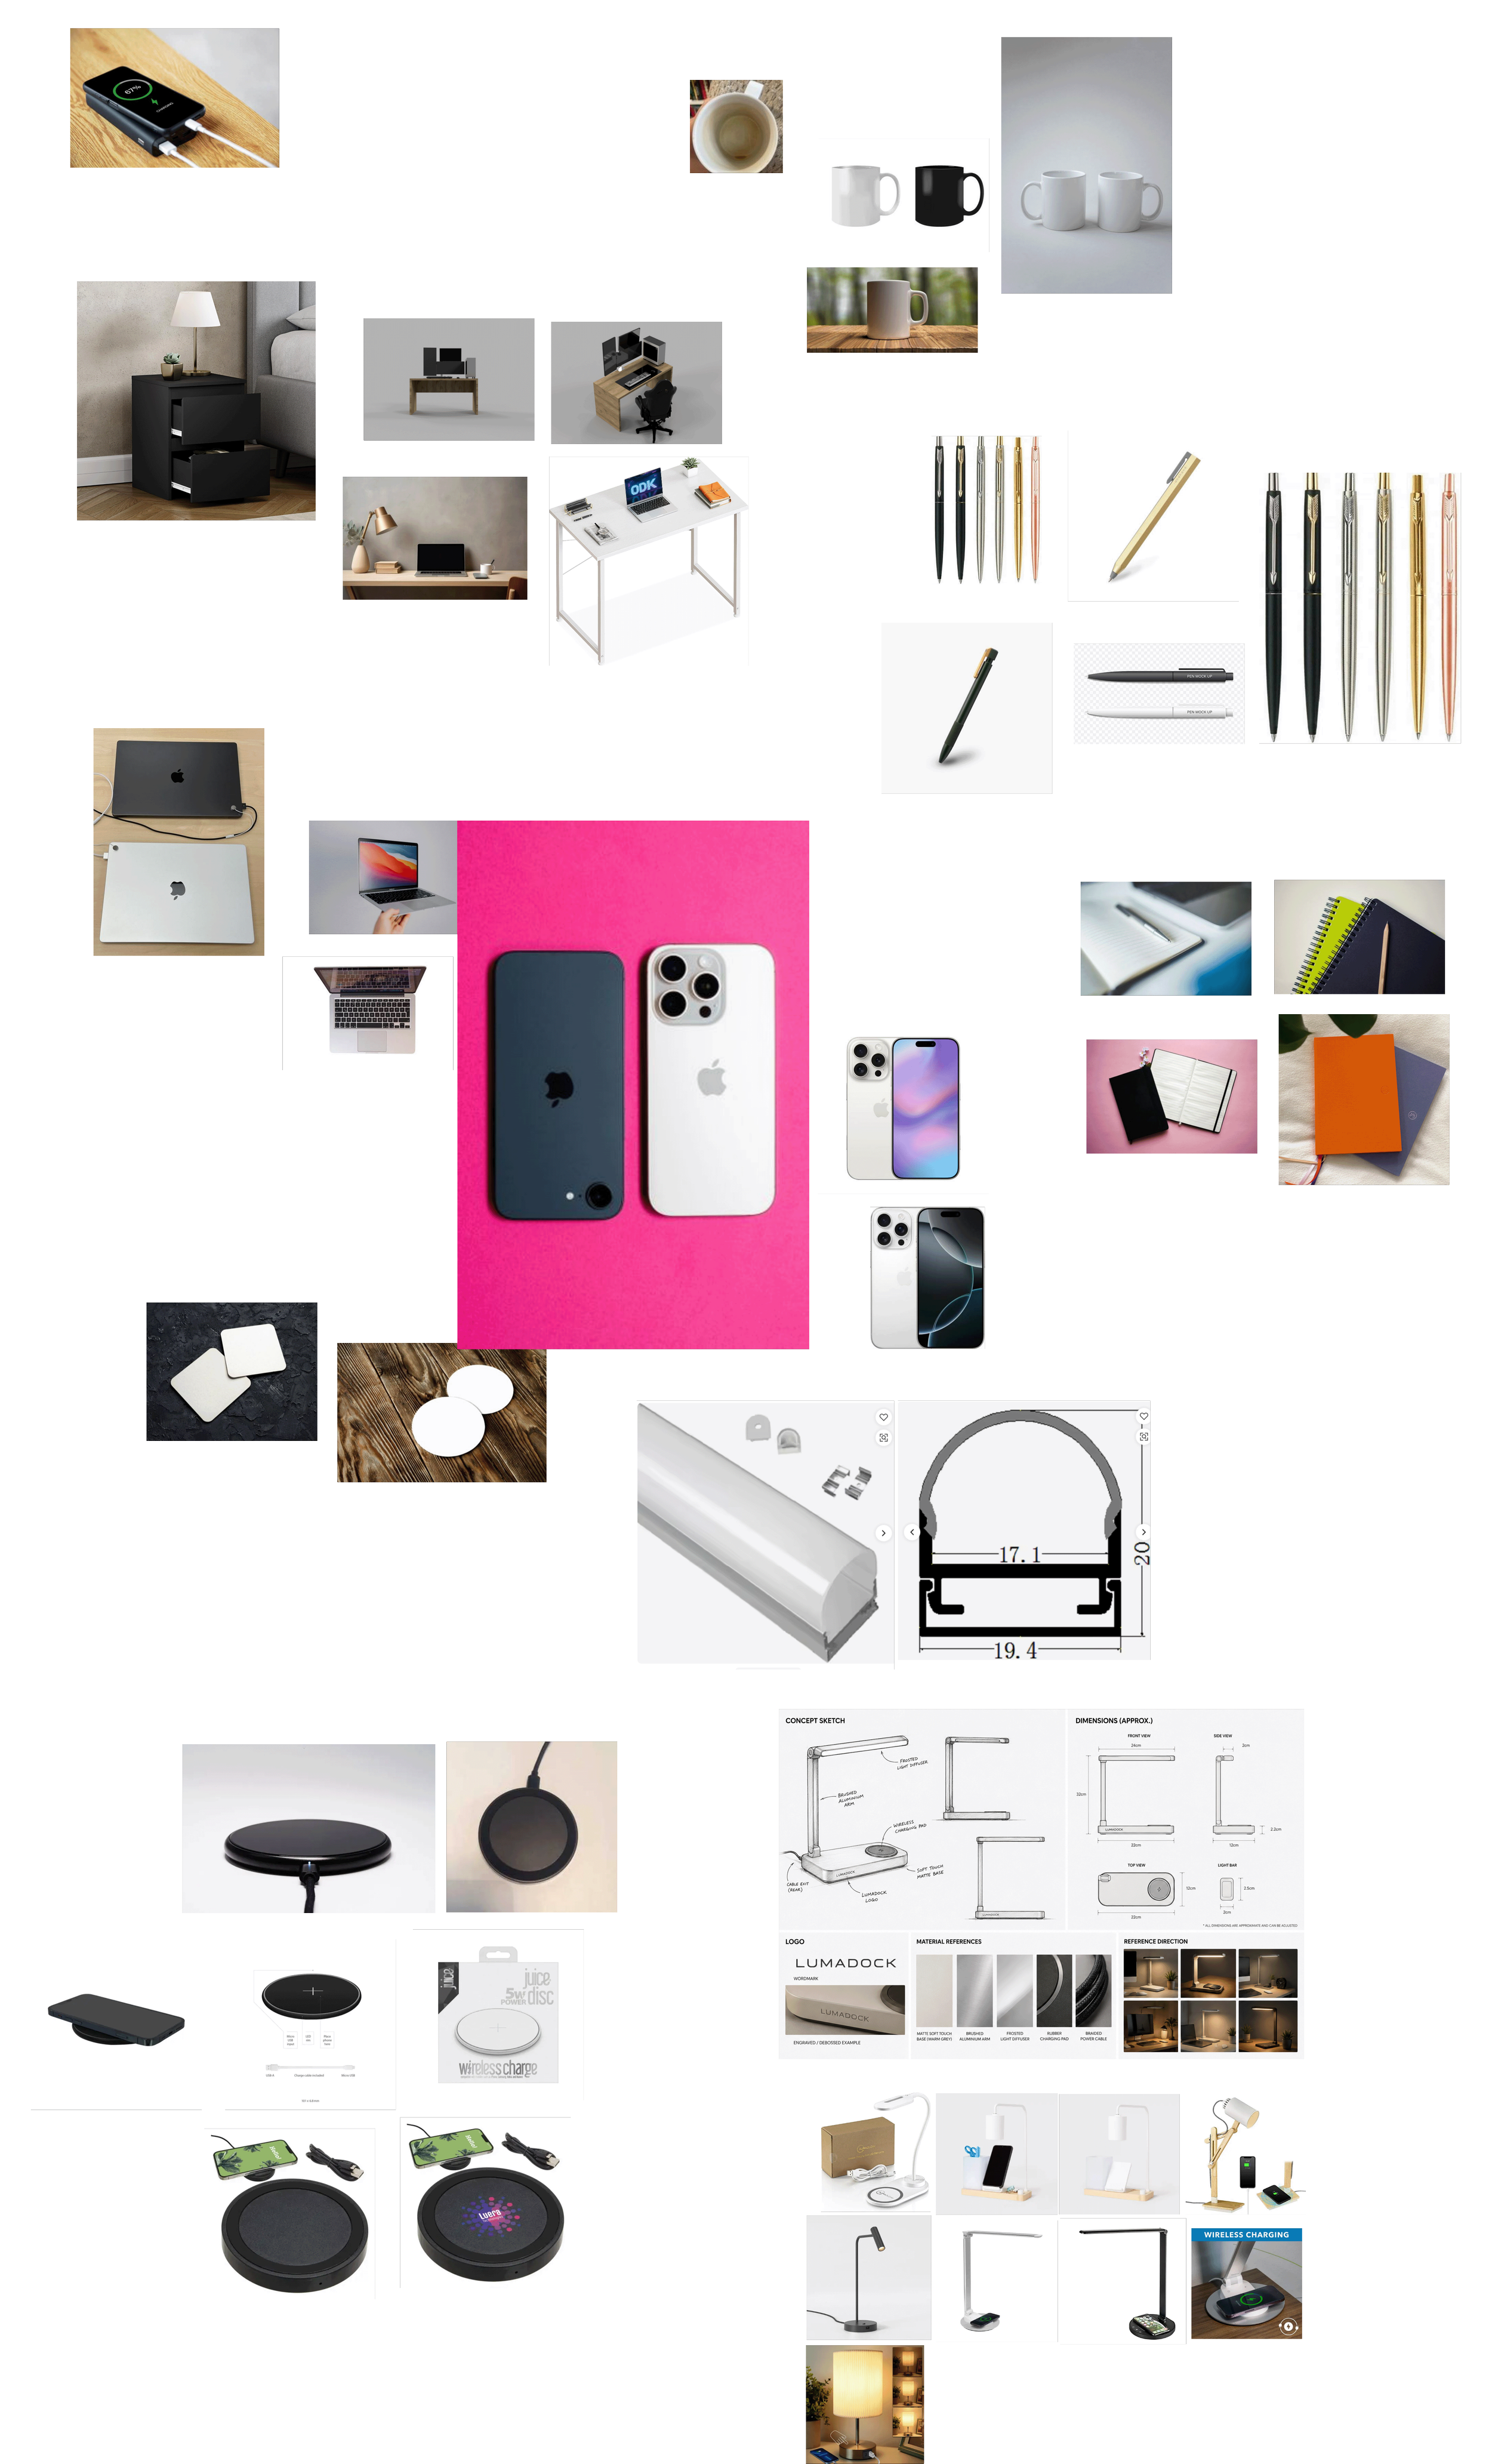
Research & Moodboard
This stage is where the project began. After developing the client brief, I created a moodboard to establish the visual direction before moving into modelling and scene creation. The goal was to define the overall look and feel of the project, including the product style, material choices, lighting mood, colour palette, and the type of lifestyle environment the renders would sit within.
The moodboard helped set a clear creative direction early on, making sure the final visuals felt premium, minimal, warm, and commercially believable. It also gave me a reference point throughout the project, helping me keep the design consistent across the product, materials, props, and final render compositions.
Modelling & Client Review
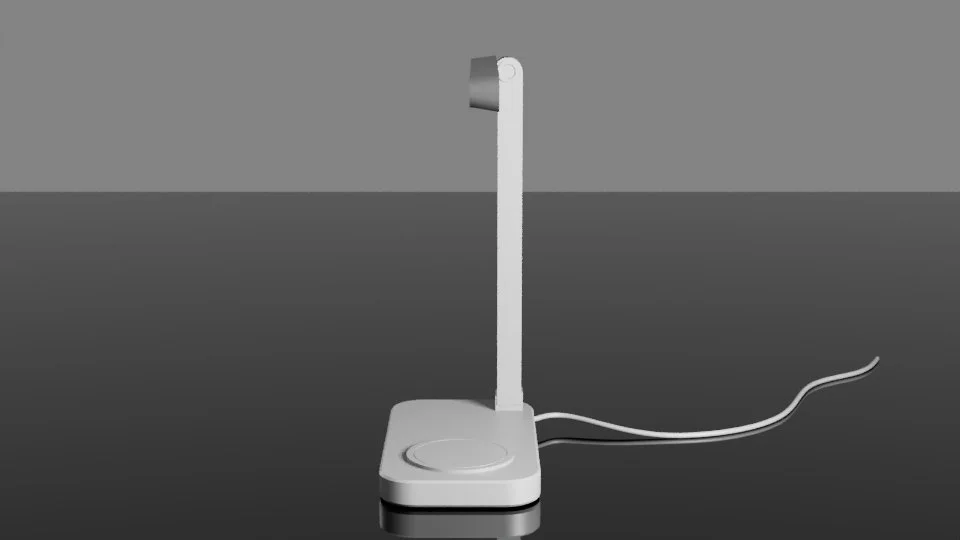
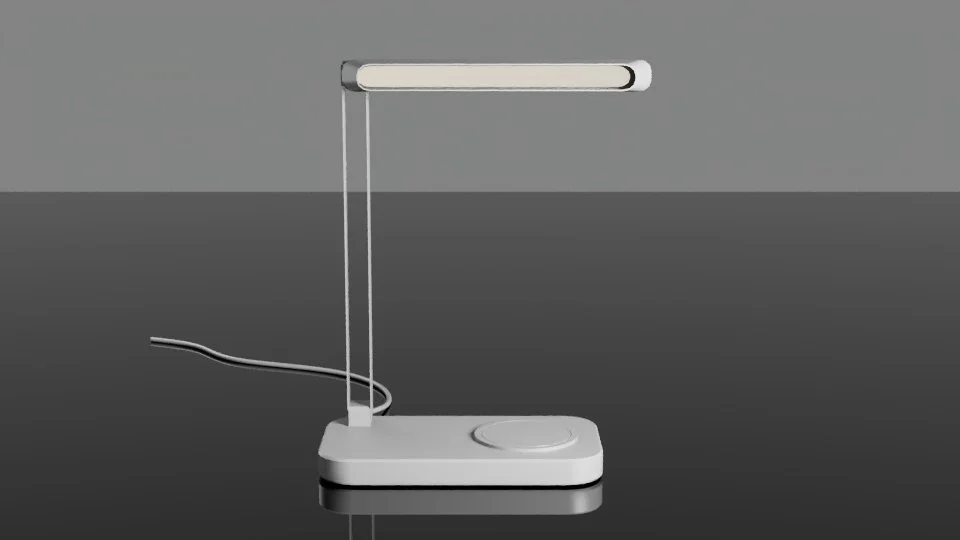
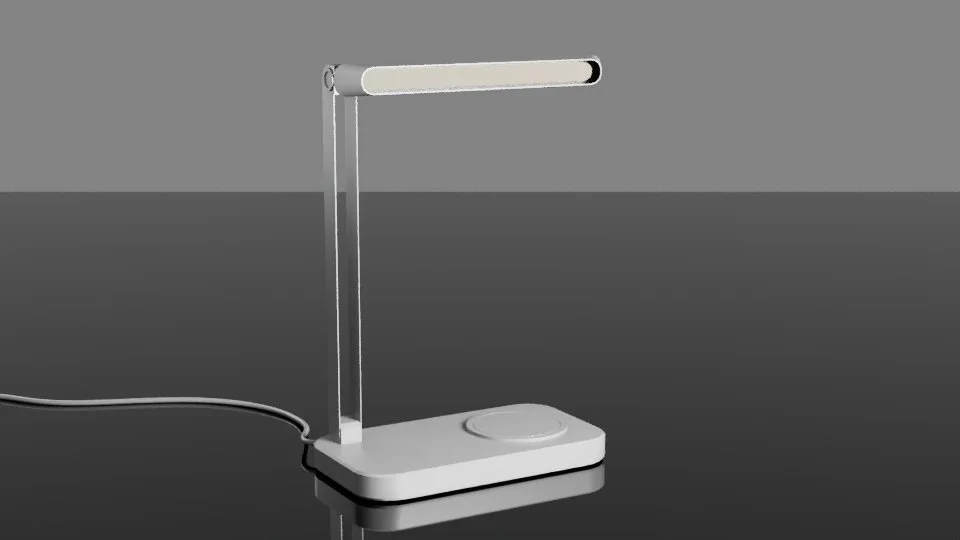
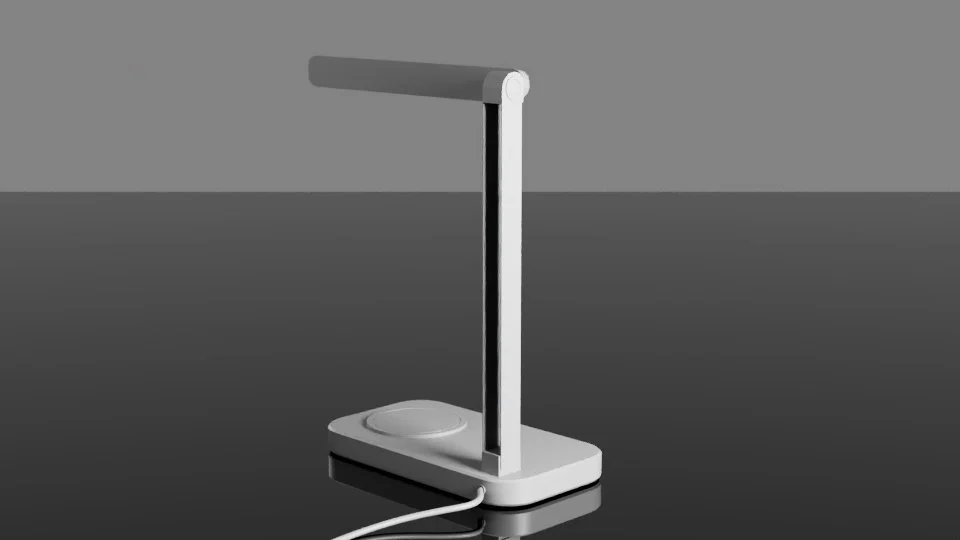
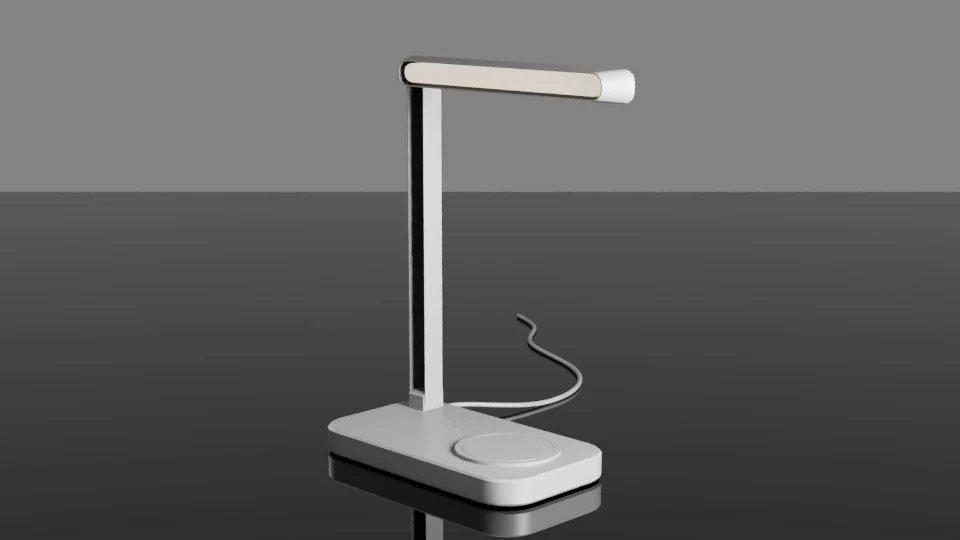
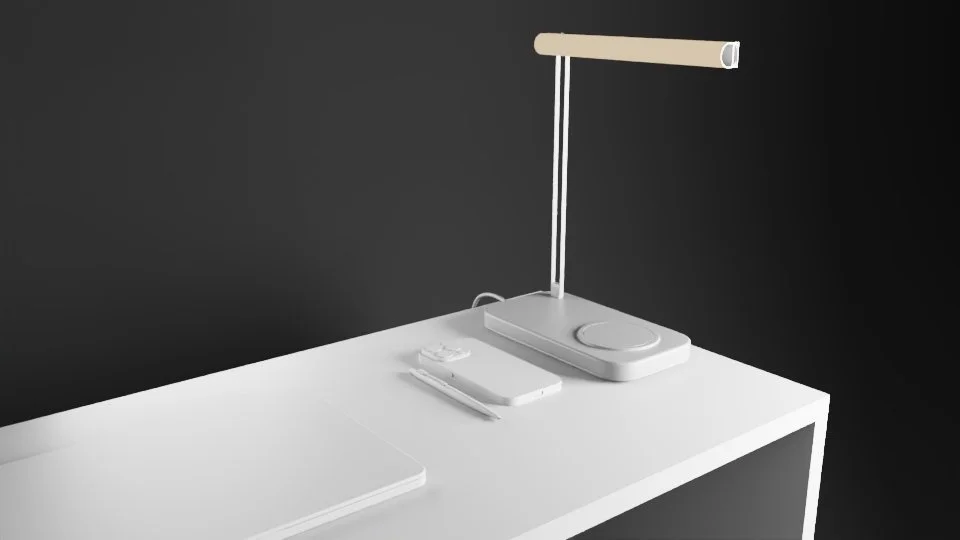
After the visual direction was established, I moved into the modelling stage. At this point, the focus was on creating a clean and believable product model that matched the requirements of the brief. This included blocking out the overall shape, checking the proportions, and making sure the key features were clearly represented, such as the lamp bar, aluminium arm, wireless charging pad, base shape, cable exit, and subtle product details.
The model was presented in a simple clay material without final textures, lighting, or product placement. This allowed the client to focus purely on the form, scale, functionality, and design details without being distracted by materials or final render styling.
This stage was important for gathering feedback early in the process. Any adjustments to the shape, proportions, or feature placement could be made before moving into texturing, lighting, and final scene composition. By reviewing the model first, I could make sure the product design was accurate, practical, and aligned with the intended premium visual direction.
Scene Blockout & Composition Review
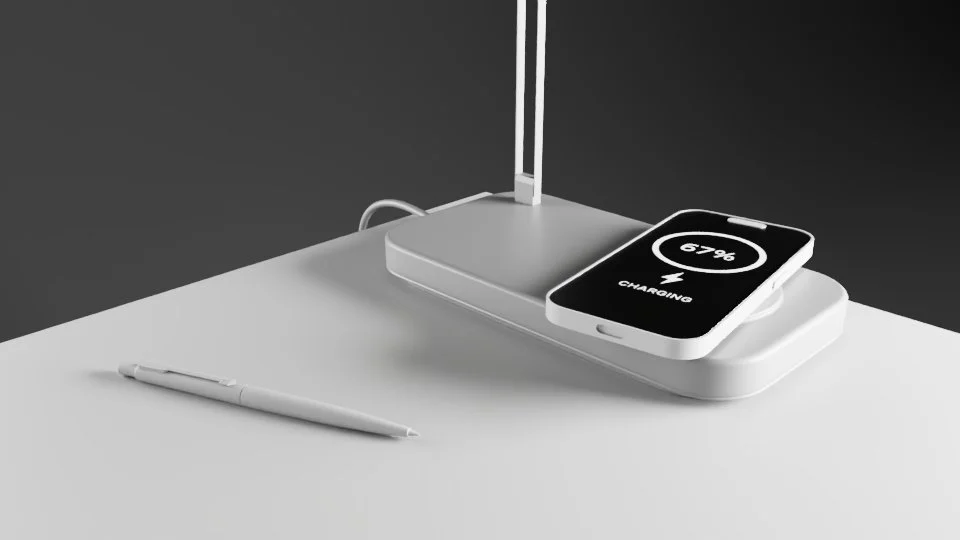
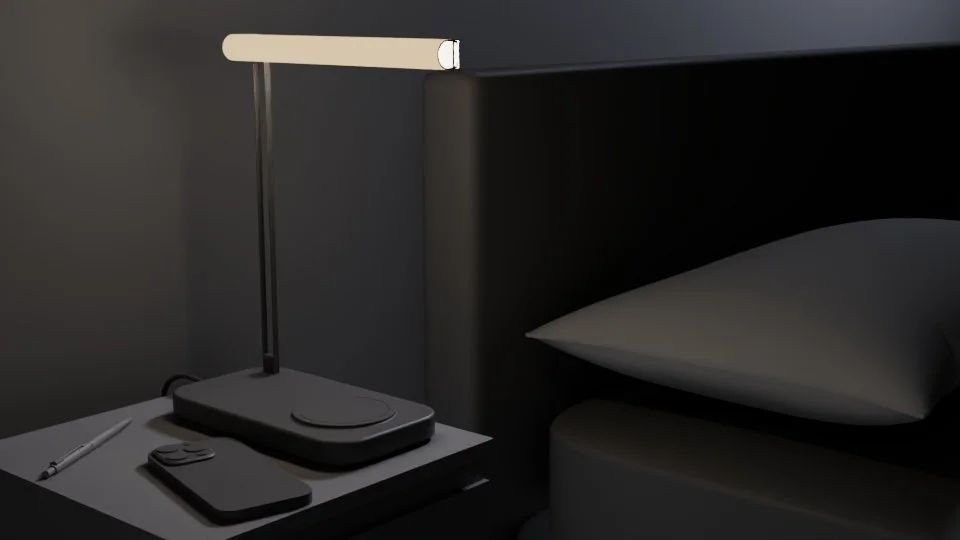
Once the product model had been approved, I moved into the scene blockout stage. This involved placing the product into the three planned render compositions and setting up the early camera angles, lighting direction, and overall presentation for each image.
At this stage, the product and scene were still shown without final materials or polished textures. The purpose was to give the client a clear preview of the creative direction before moving into the final visual development. This allowed them to review the mood, composition, product placement, lighting style, and overall storytelling of each render.
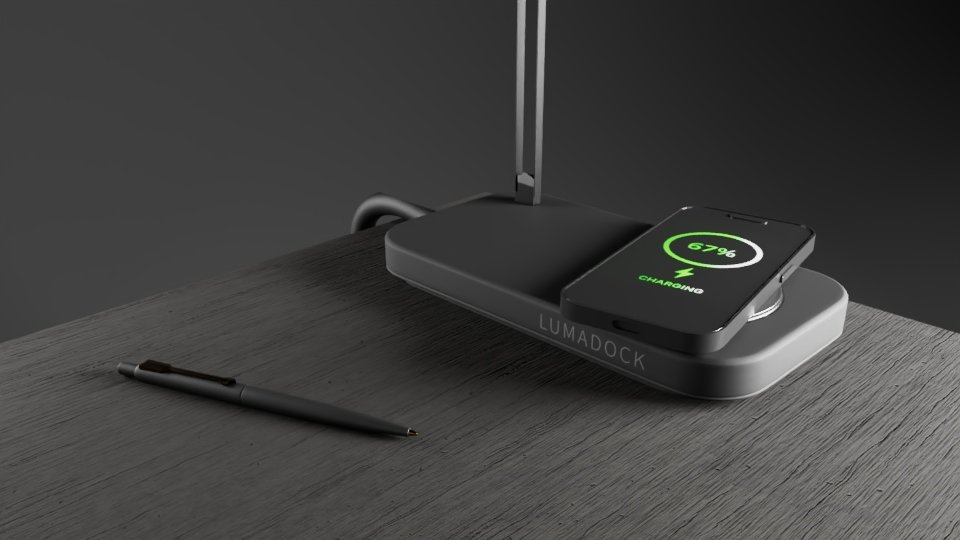
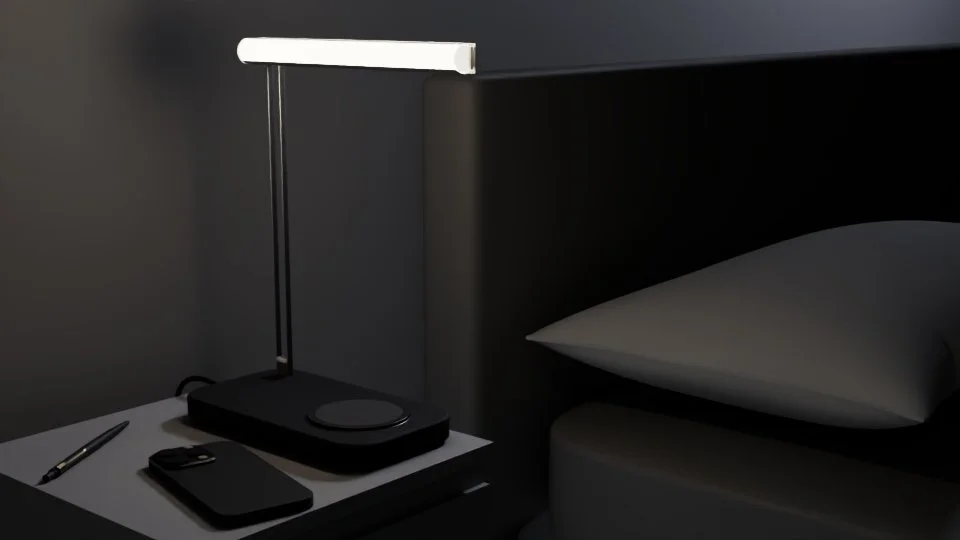
This step helped make sure each image had a clear purpose: one focused on the main hero presentation, one highlighting the wireless charging feature, and one creating a warmer evening lifestyle atmosphere. By reviewing the scenes early, any changes to camera angles, prop placement, lighting mood, or visual direction could be made before committing to final materials and high-quality rendering.
Material Development & Render Preview
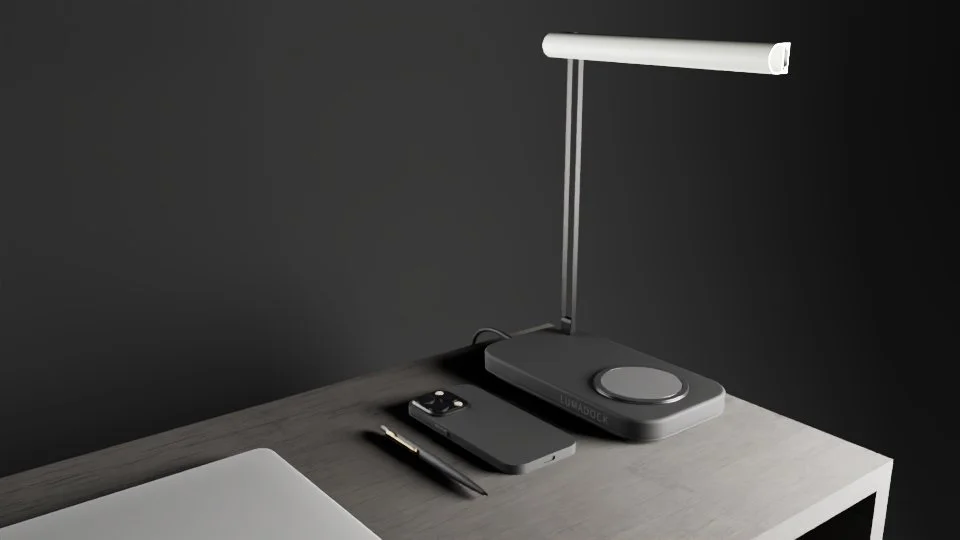
After the scene direction had been approved, I moved into the full material development stage. This was where the product started to look much closer to the final result, with the main materials applied across the model and supporting scene elements.
The focus at this stage was on defining the material qualities of the product, including the matte base, wireless charging pad, brushed metal arm, frosted light bar, subtle branding detail, and surrounding desk materials. These material choices were important for making the product feel premium, realistic, and commercially believable.
The renders were still produced at a lower quality during this stage so the client could review the overall look before final rendering. This gave them the opportunity to provide feedback on the materials, lighting balance, colour palette, mood, and product presentation without waiting for high-resolution final images.
By creating this preview stage, any final revisions could be made efficiently before committing to the polished final renders.
Final Rendering & Compositing
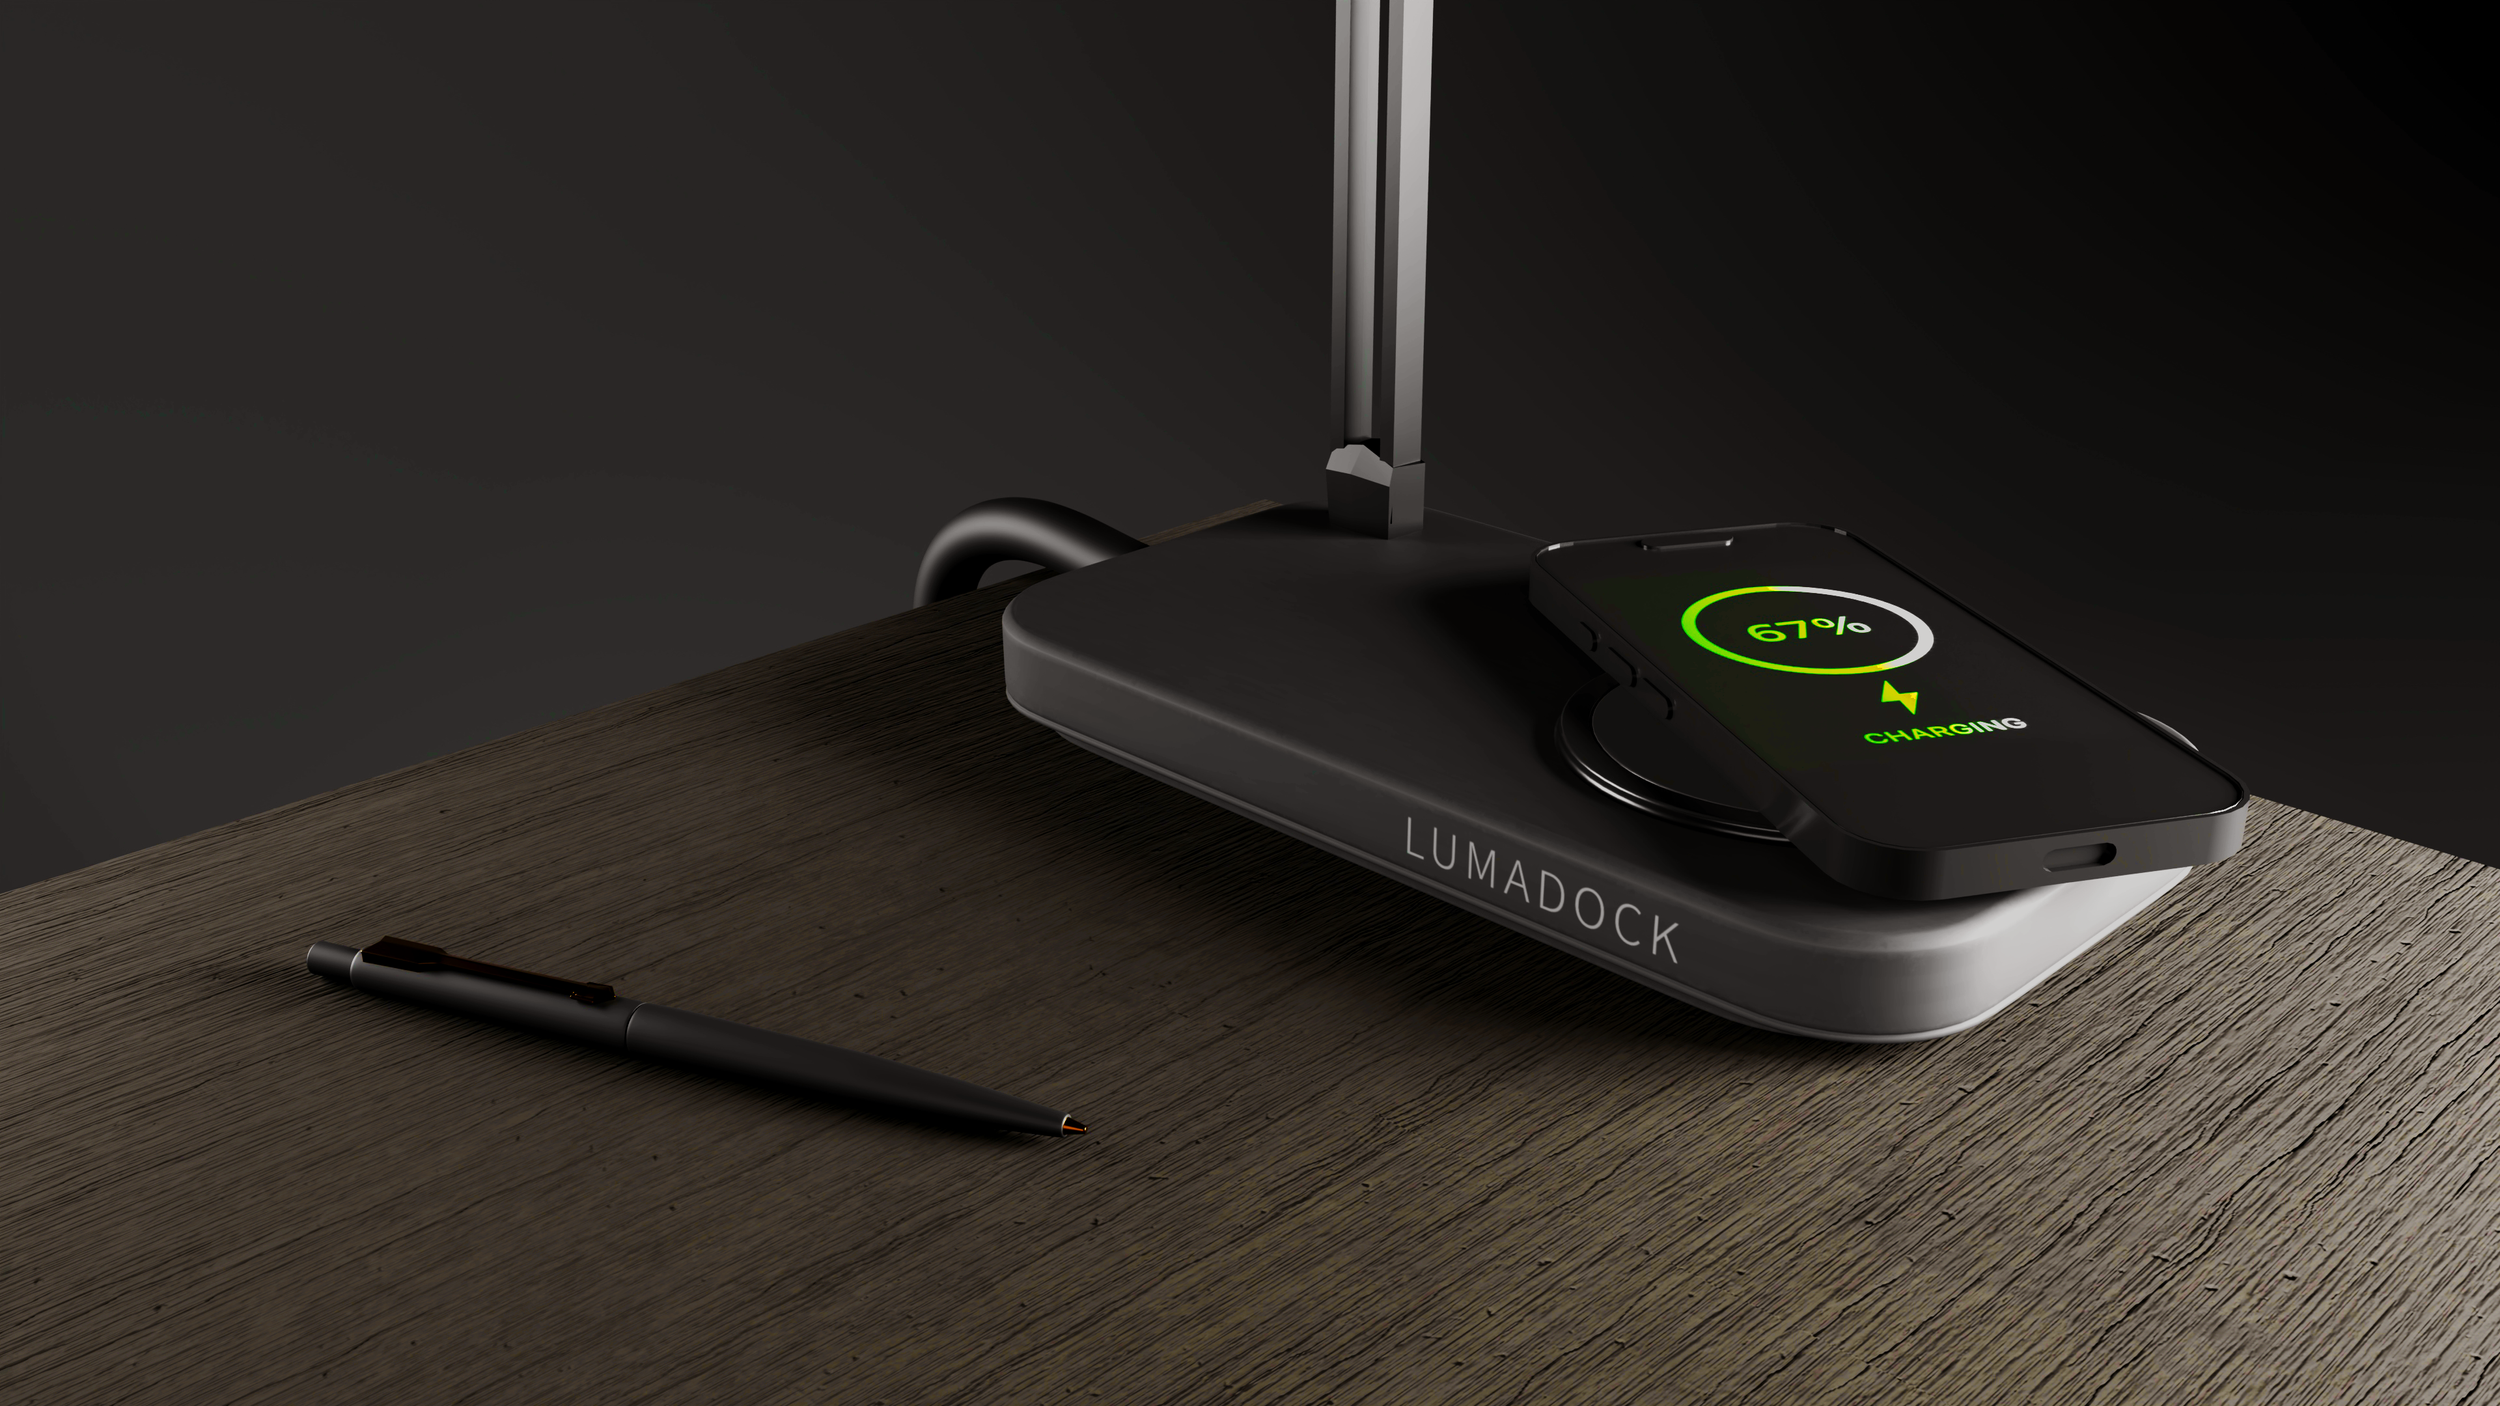
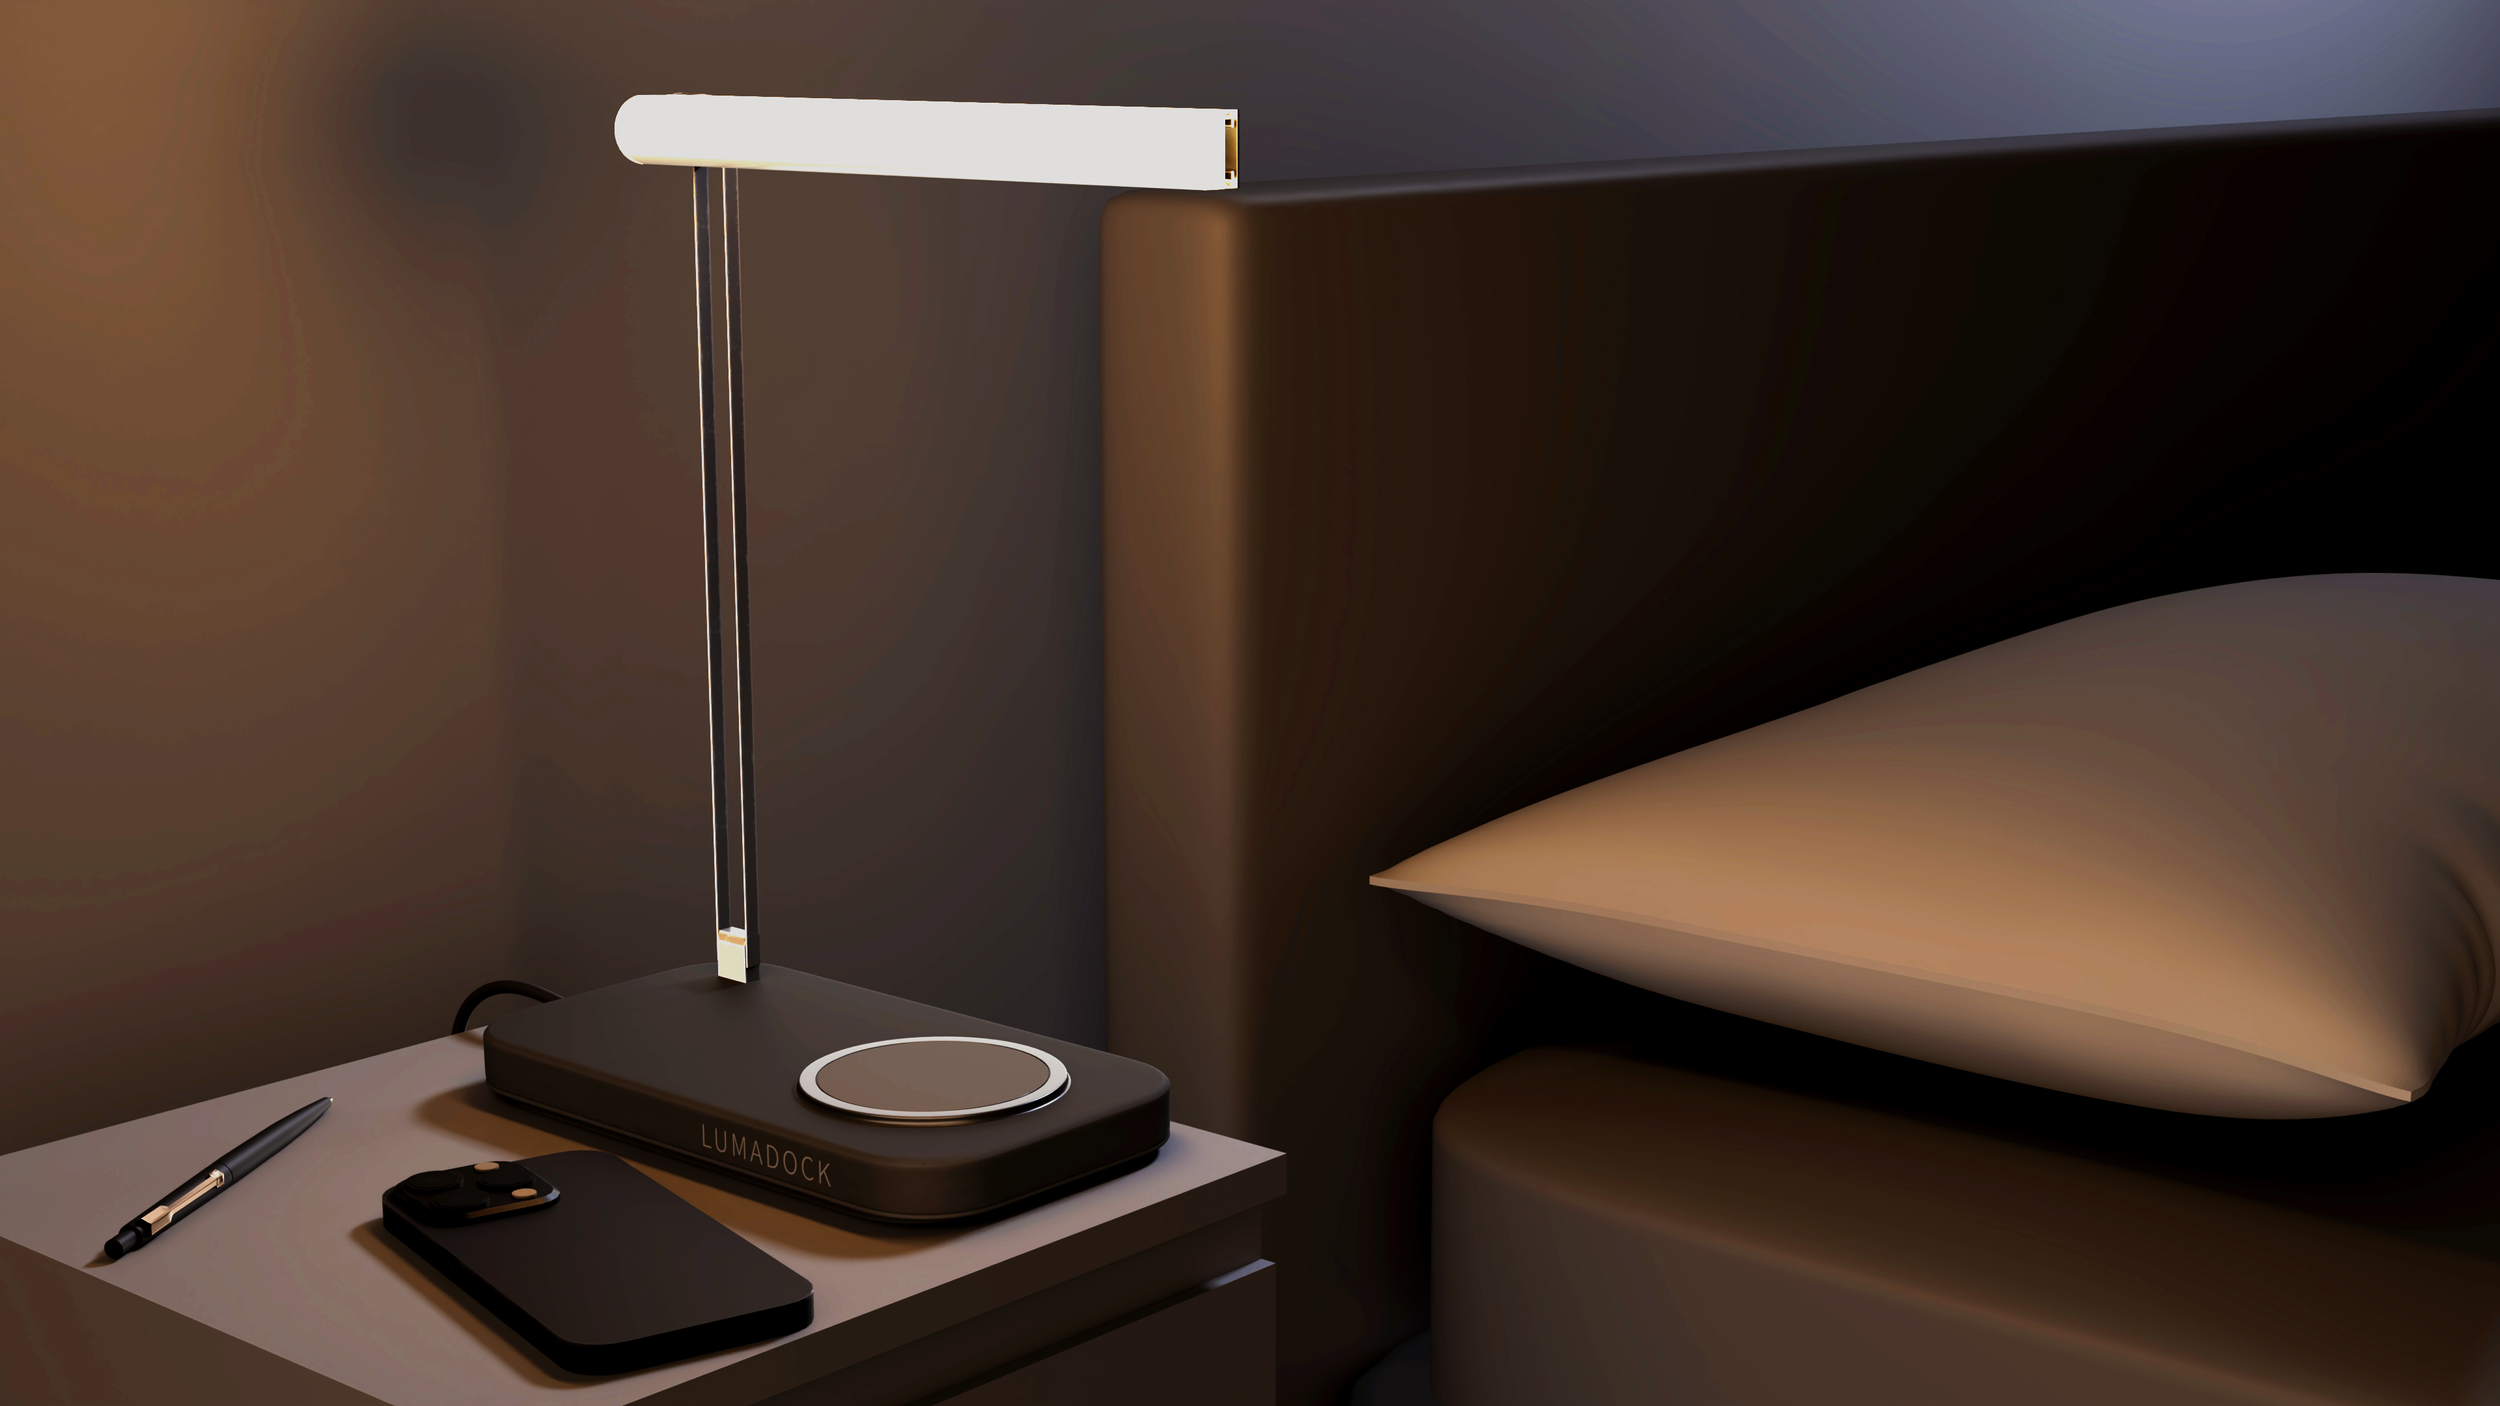
The final stage of the project was producing the polished high-resolution renders. Once the modelling, composition, lighting, and materials had all been reviewed and approved, I moved into the final render process for the three completed images.
Each render was produced at 4K resolution to make sure the final visuals were suitable for website use, campaign imagery, portfolio presentation, and detailed client review. At this stage, the focus was on improving the overall image quality, refining the lighting, strengthening material definition, and making sure each render felt consistent as part of the same campaign.
After rendering, the images were taken through a final compositing and post-production stage. This allowed me to make subtle adjustments to contrast, glow, colour balance, reflections, and overall mood without changing the approved design direction.
The final result was a set of three polished product CGI renders, each created to serve a different marketing purpose: a clean hero image, a feature-focused charging render, and a warmer lifestyle render designed to sell the atmosphere of using the product.